Présenté par Blogger.
Aucun message portant le libellé Stamping Bella. Afficher tous les messages

Stamping Bella: Unicorns love!

Hey guys!

I'm back with you for another project featuring the awesome products at Stamping Bella. I hope you enjoyed all the projects so far!


Today's card, as advertised last week, is all about taking masking to the next level and creating a colorful, magical scene with the lovely Unicorns, Unicorns Add Ons and the Cave Kids Backdrop! Confession: I am completely addicted to all three sets. Like, REALLY addicted! I just want to use them over and over again! Plus, it is so easy to create tons of cards out of them for various occasions, so look no further, and order them. Now. (Is it done, yet? ;-) )

I really have a thing for unicorns, so this scene came to me very easily. Doesn't it scream happiness?! So, to create it, I first started with a 6"x12" white cardstock, folded in two from the top, in order to have a 6"x6" square card. Then, I cut a 6"x6" panel from my favourite colouring cardstock, so that I could simply glue it to the cardbase once it is fully coloured and it would perfectly fit. 

Just as I mentioned it last week, the key to create a perfect masked scene is to stamp the images you want to be the focal point. In this case, I played around with all the gorgeous Unicorns, stamped them onto the colouring cardstock, and again on the mask paper to cover them. I did keep one aside, so that I could add dimension with foam tabs and it would pop from the card even more. Then, I stamped the Cave Kids Backdrop, followed by the lovely accessories from the Unicorns Add Ons set (a must-have!). I coloured everything with my favourite medium, and then I simply stamped and embossed with white powder a sentiment onto a piece of black cardstock. I added a few dots as a finishing touch, and that was that.


Here's the video where you can see the whole process of masking, colouring and creating the card. Watch it below or on Youtube in HD!


Copic used:
Grass (G09, YG25-23-21)
River (B99-97-95-93-91)
Sky (B02-01-000)
Unicorns (C3, BV31-08-04-02, RV29-25
Mountains and rocks (W5-3, E41)
Trees (YG99-97-95-93)
Stars (YR23, Y18-15)
Rainbow (R85-83-81, RV29, BG18-15-13, YG23)

I hope you liked this cardmaking and colouring series and I cannot wait to show you more with my favourite images at Stamping Bella!

Stamping Bella: Tiny Townie loves Buttercream +VIDEO

Good morning, everyone!

I'm back to share an awesome project using the fabulous products from Stamping Bella, one of my very favourite companies out there! How can you resist it, right? Today's project may look simple in terms of cardmaking, BUT I definitely focus on my latest addiction, colouring backdrops! And even thought it might seem complicated, I assure you, it's not. I'm proof of that, eheh!


The key is into masking, guys! So to create this fun scene, I first cut a 6"x12" piece of white cardstock, to fold it in two from the top. Then, I cut a 5 3/4"x 5 3/4" piece of colouring cardstock in order to create a scene that would fill almost all the space on the cardbase, once coloured. and popped with foam tape.  


So the thing you have to remember when masking is to first stamp the image that you would like to pop as a focal point. In this case, I first stamped the utterly adorable Tiny Townie Bree Loves Buttercream onto my colouring cardstock, then another time onto some masking paper (or large post-it). Next, you need to use some sharp scissors and cut the silhouette done on the masking paper very closely, so that you can stick it onto the stamped image from the cardstock. Now that it is covered, you can ink and stamp the Love Backdrop on top of the masked silhouette. Then, remove the mask, and you are ready to go! Just colour with your favourite colouring medium. Once that is done, all you need is to stamp the fabulous sentiment that comes with iny Townie Bree Loves Buttercream in the top left corner, pop the panel on your cardbase with foam tape, add a few dots, and voilà!


Here's the video on how I created the entire scene with masking, then colouring, and finally creating the card itself. You can either view it here or on Youtube for the HD version!


Copic markers used for this scene:

Skin (E000-00-21-11-13-04, RV42)
Hair (E44-47-49)
Clothing (YR23, Y17-15-13, R85-83-81, BG11-13, BV29-25-23-21)
Grass (G09,YG25-23-21)
Hearts (R46)
Sky (C1-3, B91, BG11)
p.s. I was not going for a very smooth sky; I wanted to see the strikes. Don't hesitate to work your sky more if you prefer!


I sincerely hope this demystifies how to create simple masking, and if you have any questions, don't hesitate to reach out! Next week will be all about masking x1000, with the cutest magical creatures from Stamping Bella! See you then ;-)


Stamping Bella: Uptown Zodiac Girl Gemini

Hello, all!

Today's project is pretty special to me and I'm very happy to be able to show it to you with a video! As soon as I saw the Zodiac release from Stamping Bella, I knew there would be SO MANY possibilities with these sets! Yes, they are fun for birthdays, but you can also mix them with different backgrounds, thank you cards, etc!


And that's what I wanted to show you concretly with today's project using the Uptown Zodiac Girl Gemini stamp set. I had on my mind to simply colour the girls differently, but then I thought why not give them totally different personalities aswell!


So, I first started by stamping the girls and coloured them in my usual skin and hair combos with Copic markers (list below). 


Copic markers used:
Skin (E04-13-11-21-00, RV42)
Hair (E41-42-43-44-47-49)
Dresses (BG49-45-34-32, RV29-25-23, BV29-25)
Flowers (YG23, Y18)


Then, I fussy cut them with sharp scissors, but I REALLY insist, guys, just get the matching Cut-It-Out and save yourself some time! Next step was to simply layer a few pieces of pattern paper and add the gorgeous stamped image on the A2 cardbase along with the papers. 

Watch the video here or on my Youtube channel in HD :-)


Nothing fancy, but a big pop of colours! I hope you liked it :-)

Stamping Bella: Edna Loves Ice Cream!

Hey everyone!

I'm so excited to share with you today's card featuring an awesome stamp set by Stamping Bella called Edna Loves Ice Cream! Secretly though, I have to admit that I'm a huge fan of EVERYTHING in store, so you already (and definitely) see lots of them on my blog and Instagram!


Indeed, today's project is even better because it is filmed from start to finish. Watch it right here or on my Youtube Channel for the HD version!


I first started by stamping the lovely Edna, then coloured her with Copic markers. You can find the list of markers used below. One layer of colours was enough, but you could definitely add more depth by doing two. I then fussy cut her with sharp scissors, but save yourself some time and buy the coordinating Cut-It-Out when you order your set; SO worth it!


To create the card, I first selected a white A2 cardbase (4¼"x5½" once folded from the top), then cut out a piece of pattern paper to match the colours I had chosen for Edna, carefully creating a large opening with a circle die so that the cardbase would show through and reinforce focus on the image. I stacked it down with some foam tape for more dimension. Then, I stamped the AMAZING sentiment in black ink onto a piece of white cardstock and trimmed it so that it would fit nicely at the bottom of the card once popped onto some foam tabs. 


I completed the card by placing Edna Loves Ice Cream onto a wobble spring right in the opening and added a few white dots for a nice finishing touch. I dare you to use one of these wobbly thingies with the critters at Stamping Bella , wouldn't it be fun?!


Copic used:
Skin (E04-13-11-21-00-000, cheeks RV43)
Hair and chocolate syrup (E49-47-44)
Skirt (RV29-25-23)
Top and shoes (YR23-Y18)
Wings, Whipped Cream, Ice Cream (E43-42-41-40)
Cherry on top (R89-59)
Bowl and glasses (BG49-45-34-32)
Straw (RV29, YR23)

And that's all for today! I hope you enjoyed this project, as I *may* have another one right up the alley next week ;-)

Lime Citron: Plage, Soleil, Vacances!

Allô, allô!

Je dois avouer qu'en préparant cette publication pour Lime Citron, je suis clairement prête à retourner en vacances pour avoir un beau gros soleil!


J'ai créé une carte vraiment simple pour mettre en évidence les magnifiques chipboard de Lime Citron, en utilisant une image Garden Girl Lilac de Stamping Bella. J'ai tout d'abord coupé un carton jaune fluo pour créer ma base de carte à 4¼"x11", puis plié le tout en deux par le haut. Ensuite, j'ai superposé mes deux découpes de papier à motifs ainsi que l'image mise en couleurs avec les marqueurs Copic. Ne restait qu'à coller les mots de l'ensemble Vive l'été avec de la colle liquide, puis à compléter le tout avec quelques goutelettes Nuvo Drops.


Chipboard - Vive l'été


Merci du coup d'oeil!

Ah! La Carte: Kit du mois..un peu en retard :-P

Allô tout le monde!

Je reprends tranquillement le dessus de cette fin d'année de fous (en fait, l'année entière a été une tornade, mais bon) et je tenais à vous présenter le plus récent kit carterie offert chez Ah! La Carte, mettant en vedette une collection de papiers aux teintes très douces de Kaisercraft, une jolie étampe de Stamping Bella et quelques décos ici et là. Un total de 5 créations ont été faites à partir de ce kit et il me reste encore plusieurs retailles; vous en avez vraiment pour votre argent :-)


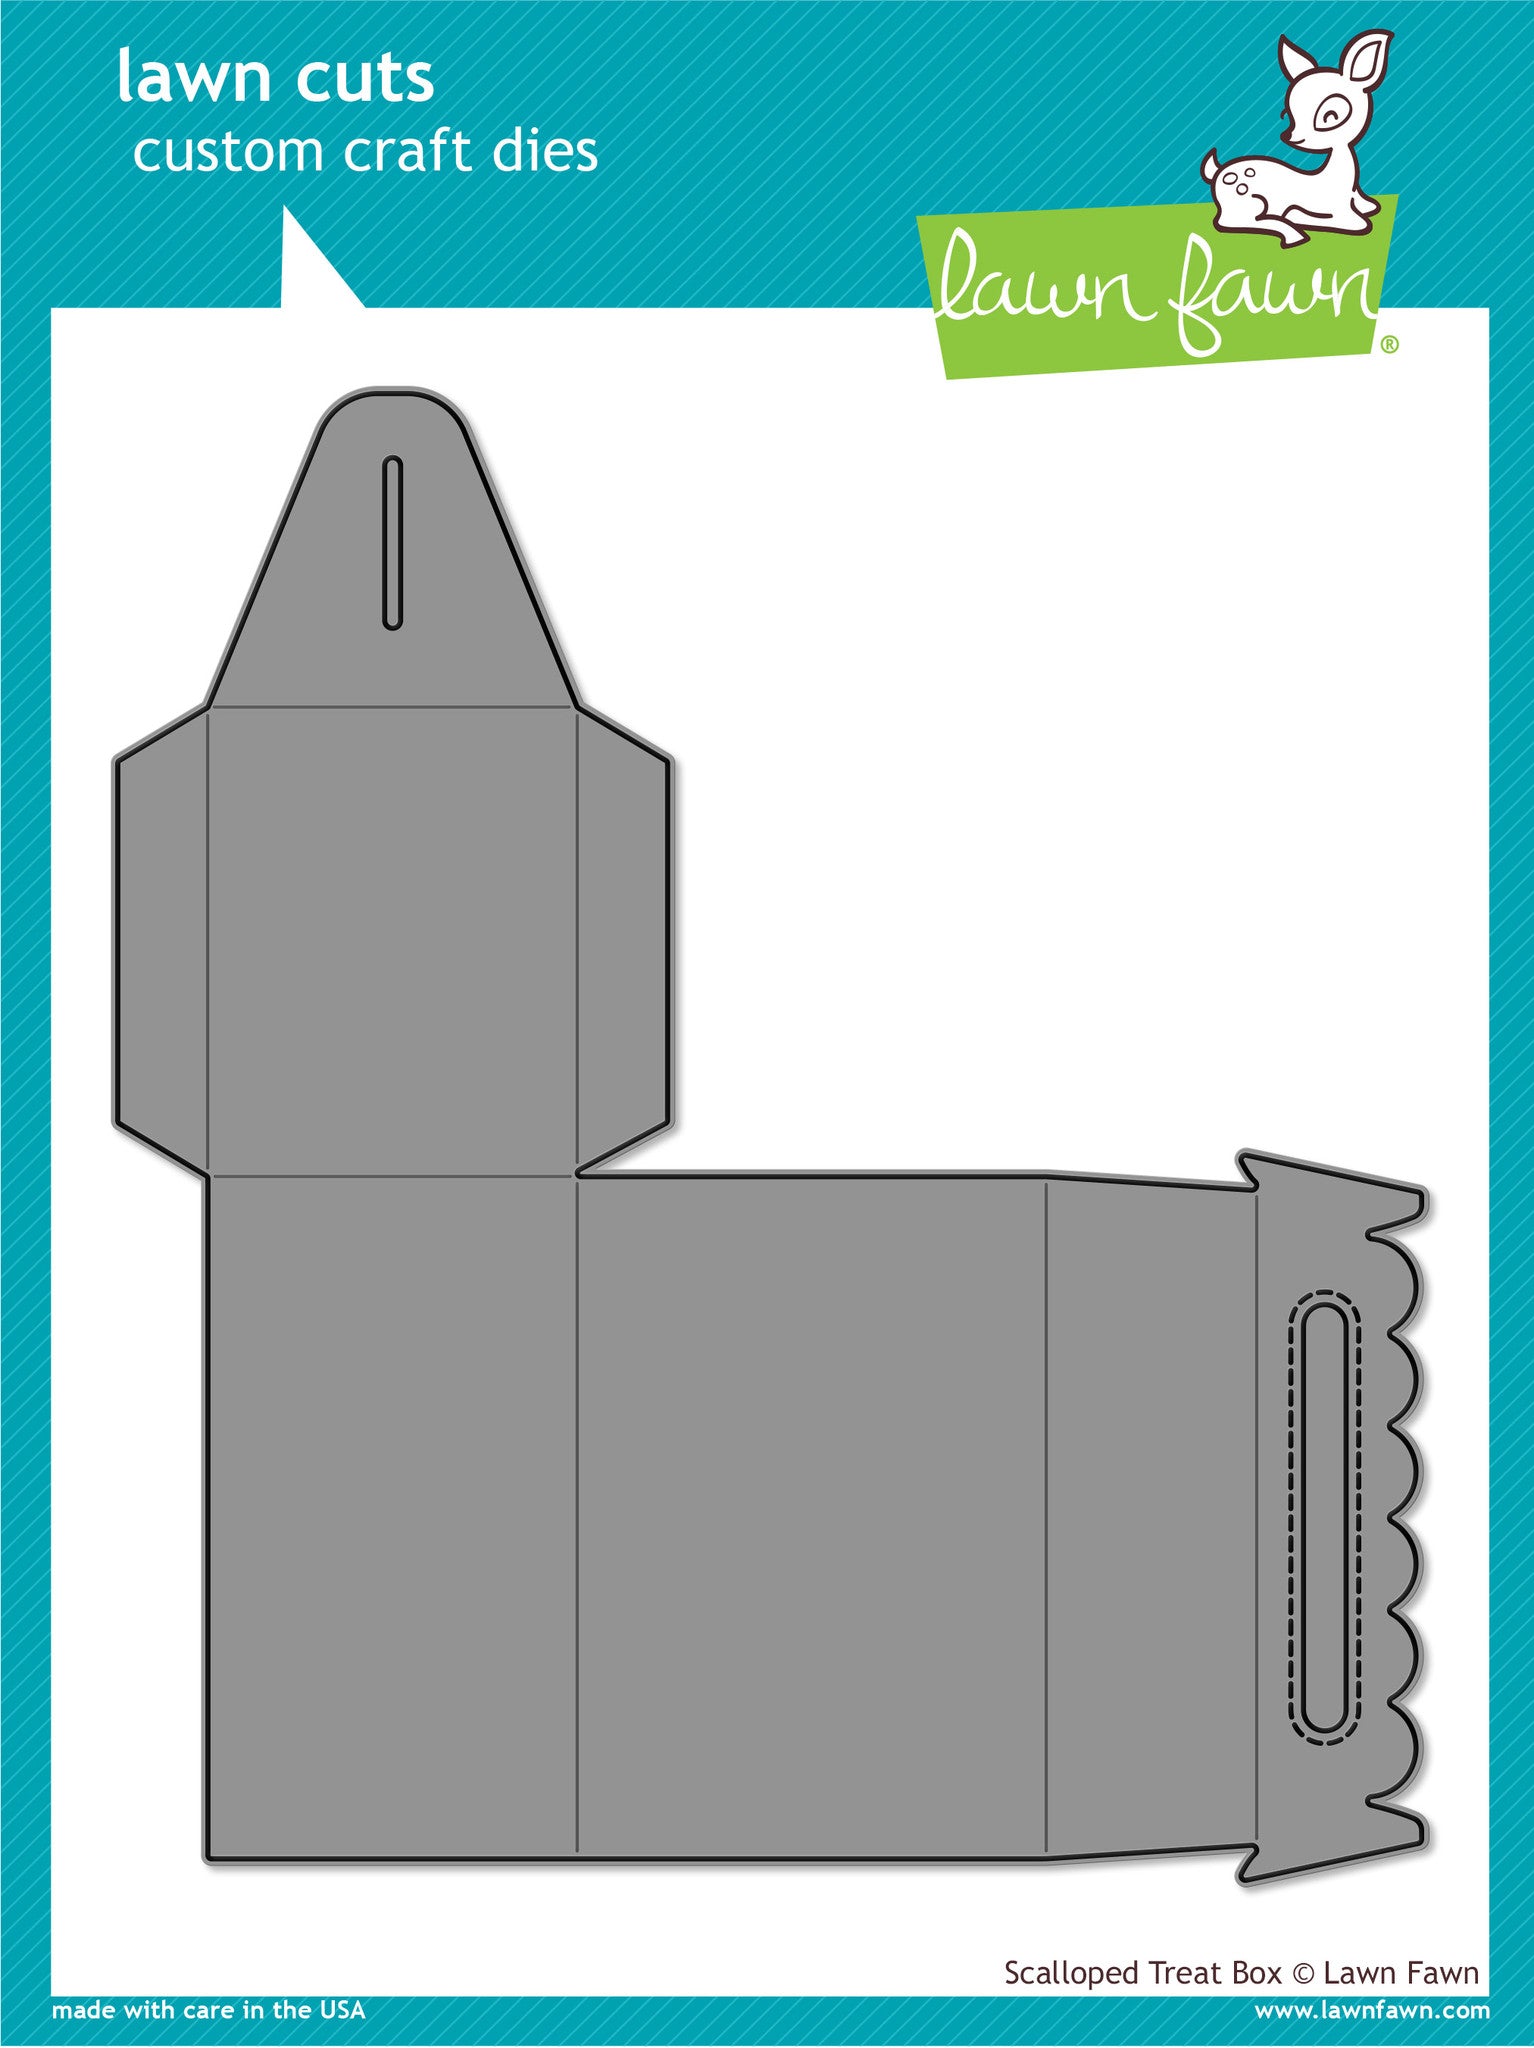
J'avais SI hâte de vous montrer cette petite boîte faite à partir de la matrice de découpe Scalloped Treat Box! Je vais certainement en refaire tout plein, et quelques vidéos pour vous montrer comment l'assembler. C'est un must!

(la fameuse matrice!)
Résultats de recherche d'images pour « lawn fawn box »

La deuxième carte, utilisant une matrice de découpe de LDRS Creative pour encadrer l'image de Stamping Bella qui a été entre autres créée avec la technique de paper piecing pour la jolie tasse.


Utilisant à nouveau l'étampe de Stamping Bella, j'y ai été dans un mode très fleural pour cette troisième carte, ajoutant un doily fait avec une matrice de découpe encore une fois de LDRS Creative.


Pour la 4e carte, un modèle plus Clean & Simple, mais tout aussi fun, utilisant une autre image de Stamping Bella et la matrice de découpe Wonky Rectangle d'Avery Elle.


Et finalement une étampe de The Greeting Farm dans des teintes éclatées pour aller avec le papier à motifs très chargé sur le fond de la carte, ainsi qu'un souhait de fête de Lime Citron disponible en boutique, bien sûr.


Merci du coup d'oeil!


I Am Roses: December blog hop!


WELCOME to the I Am Roses "Merry & Bright" Blog Hop!
Hello everyone and happy December! There will be no IAR Challenge this month but we have a fabulous blog hop for you. We'd like to THANK YOU from the bottom of our hearts for all your support this year! There will be THREE Prizes up for grabs!

(2x) $50 Voucher
and
GRAND PRIZE $100 Voucher


Are you ready to win some beautiful I Am Roses flowers?

Here’s how to play:

  • Hop along to each of the Designers’ blogs and be sure to comment on their individual "IAR Merry & Bright” Blog Post
  • There are 3 HIDDEN BLOG CANDY PRIZES up for grabs spread throughout our  Designers’ blogs!
  • Be sure to Subscribe/Follow the I Am Roses Challenge Blog
  • Commenting along the way highly increases your chance of winning a Prize Voucher.
  • Comments will be CLOSED on 11:59pm PST on Saturday December 23rd (This blog hop has a duration of one week)
  • We will be randomly selecting 3 winners from the comments made on our DT's blogs and will announce the winners here on the I Am Roses Challenge Blog on January 1st!
And here's my project using some fun image from Stamping Bella and gorgeous flowers from I Am Roses!

Let's get this hop started!


Here is the line up of the I Am Roses Design Team:


Let's get this party started and enjoy the hop! Don't forget to comment!

GOOD LUCK!!


IAR: Monthly challenge: Anything goes!

Me again today, for a quick update on the blog :-)

I was super eager to show you all this folded card using all the gorgeous flowers from I Am Roses, along with a super sweet stamp from Stamping Bella called Tiny Townie Garden Lily.


I don't know about you, but I really like when I can reuse a stamp for multiple occasions, and this card called for a non-traditional Christmas twist!


I first started by stamping the image with Desert Sand ink from Memento to get a no-line colouring look, so that the whole card would have a soft look matching the beautiful flowers I had picked for my inspiration.


And to do things differently, I decided to create a center-folded card that would open up with some twine hidden behind the image.


I used these I Am Roses products:

S3-01
L20-15
BG5 or GB4
S10


And I hope you will try out the Anything Goes challenge on the IAR blog!

I Am Roses: Monthly challenge using Stamping Bella!

Gooooood afternoon everyone!

We have a new challenge at I Am Roses, so I'm back to share a very fancy card with you :-)

I used a few scraps  of paper I had left from a kit at Ah! La Carte and decided to use the lovely tiny townie GARDEN GIRL LILAC from Stamping Bella. I mean, isn't she adorable? You'll see her lots on my blog for sure!


A little close-up on the cluster of flowers:


Another close-up on the gorgeous flowers:


*Contest Details/Rules:
Contest runs Oct 15th - Nov 8th (Ends 11:55PM PST)
Theme: "Anything Goes"
Minimum (2) I Am Roses Products
One project submission per participant
One winner will be chosen
Participants will upload their project to their blog or forum, Label it “Oct IAR Challenge”
Participants will add a direct link to their project using the InLinkz tool provided. (*if you are unable to use the tool, leave a comment to this blog post and leave a direct link to your project)
Must Subscribe/or be a Follower of the IAR Challenge Blog
Winners will be announced alongside the next NEW monthly challenge on the 15th

Here is the breakdown of the Prizes up for grabs:

WINNER (Chosen at Random) $50 Voucher
Top 3 (1st Place) $30 Voucher
Top 3 (2nd/3rd Place) $25 Voucher


I used the I Am Roses products:

And the flair that I used is from Lime Citron:


I Am Roses : Monthly challenge!

Hey guys!

There's a super fun challenge over at I Am Roses! You can win two vouchers of $25 and $30 to spend in store, yummy :-) And since it's Anything Goes... there's literally no reason why you shouldn't enter, right?


I used the lovely Tiny Townie PENELOPE has a PENCIL image from Stamping Bella because I've really enjoyed playing with them lately! Oh and you may have seen her up on my Instagram account not so long ago when I was using a no-line colouring technique on her :)


September IAR Challenge

*Contest Details/Rules:
  • Contest runs Sept 15th - Oct 8th (Ends 11:55PM PST)
  • Theme: "Anything Goes"
  • Minimum (2) I Am Roses Products
  • One project submission per participant
  • One winner will be chosen
  • Participants will upload their project to their blog or forum, Label it “Sept IAR Challenge”
  • Participants will add a direct link to their project using the InLinkz tool provided. (*if you are unable to use the tool, leave a comment to this blog post and leave a direct link to your project)
  • Must Subscribe/or be a Follower of the IAR Challenge Blog
  • Winners will be announced alongside the next NEW monthly challenge on the 15th

Here is the breakdown of the Prizes up for grabs:

WINNER (Chosen at Random) $50 Voucher
Top 3 (1st Place) $30 Voucher
Top 3 (2nd/3rd Place) $25 Voucher

Stamping Bella: Rain or Shine!

Hey guys!

Just a quick post to share this card that I did completely for fun (I swear!!!) using the lovely image Tiny Townie Rachel loves the rain from Stamping Bella.


You may recognize her from a colouring video that I shared on Instagram a few weeks ago, right? Just love her outfit! She was easily paired with a Wonky stitched rectangle die since it was such a large scene that I created. 

I also added my own sentiment to the project!


Thanks for stopping by!